Althoug Vertex is stating that the Buildtak foil can replace a heated bed, this is only partially valid. Parts with large base area will tend to lift off sooner lor later. ABS is only possible for small parts according to my experience. Therefore I was looking for a heatbed for my K8400.
A heated bed as offered in the forum, but I missed to get a part. Therefore I was looking around for some suitable parts. The penny has dropped when I saw the heatbed variant using a bulb. Optical heating by light, an often applied approach in the industry (RTP: rapid thermal processing).
I did some estimations an plannings coming to the following solution:
The glass plate is replaced by a metal plate sandwich consisting of two outer anodised aluminum plates and an inner copper plate, final thickness approx. 3mm.
Within the copper plate a NTC is assembled. I selected a small SMD device, where I soldered two fine wires for electrical connection. I updated my firmware with the thermistiotable for the used NTC.
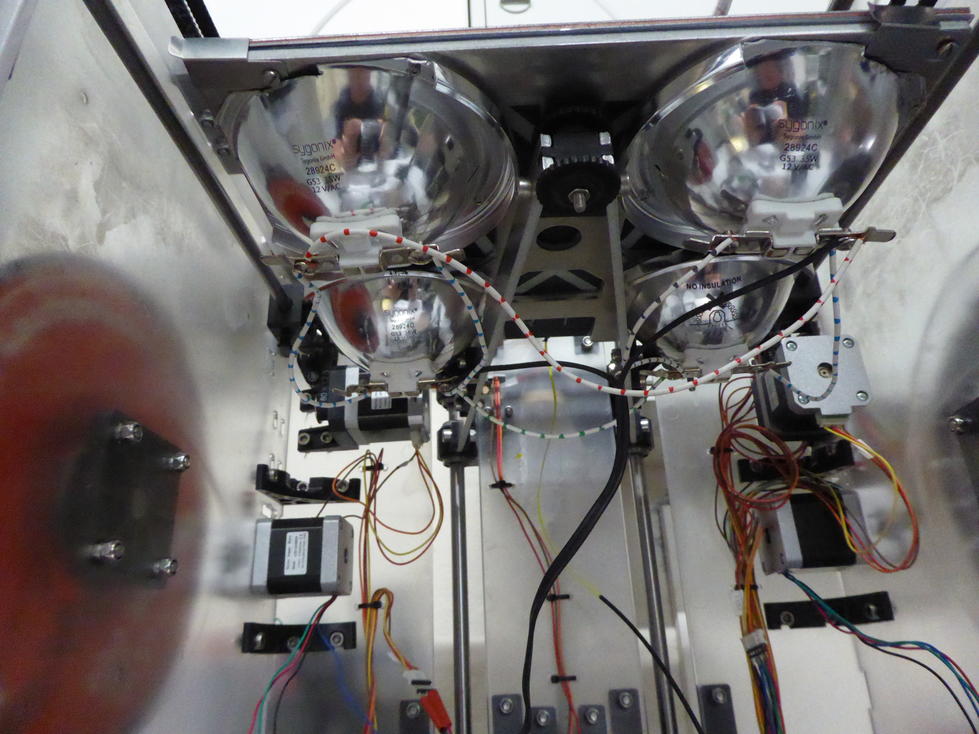
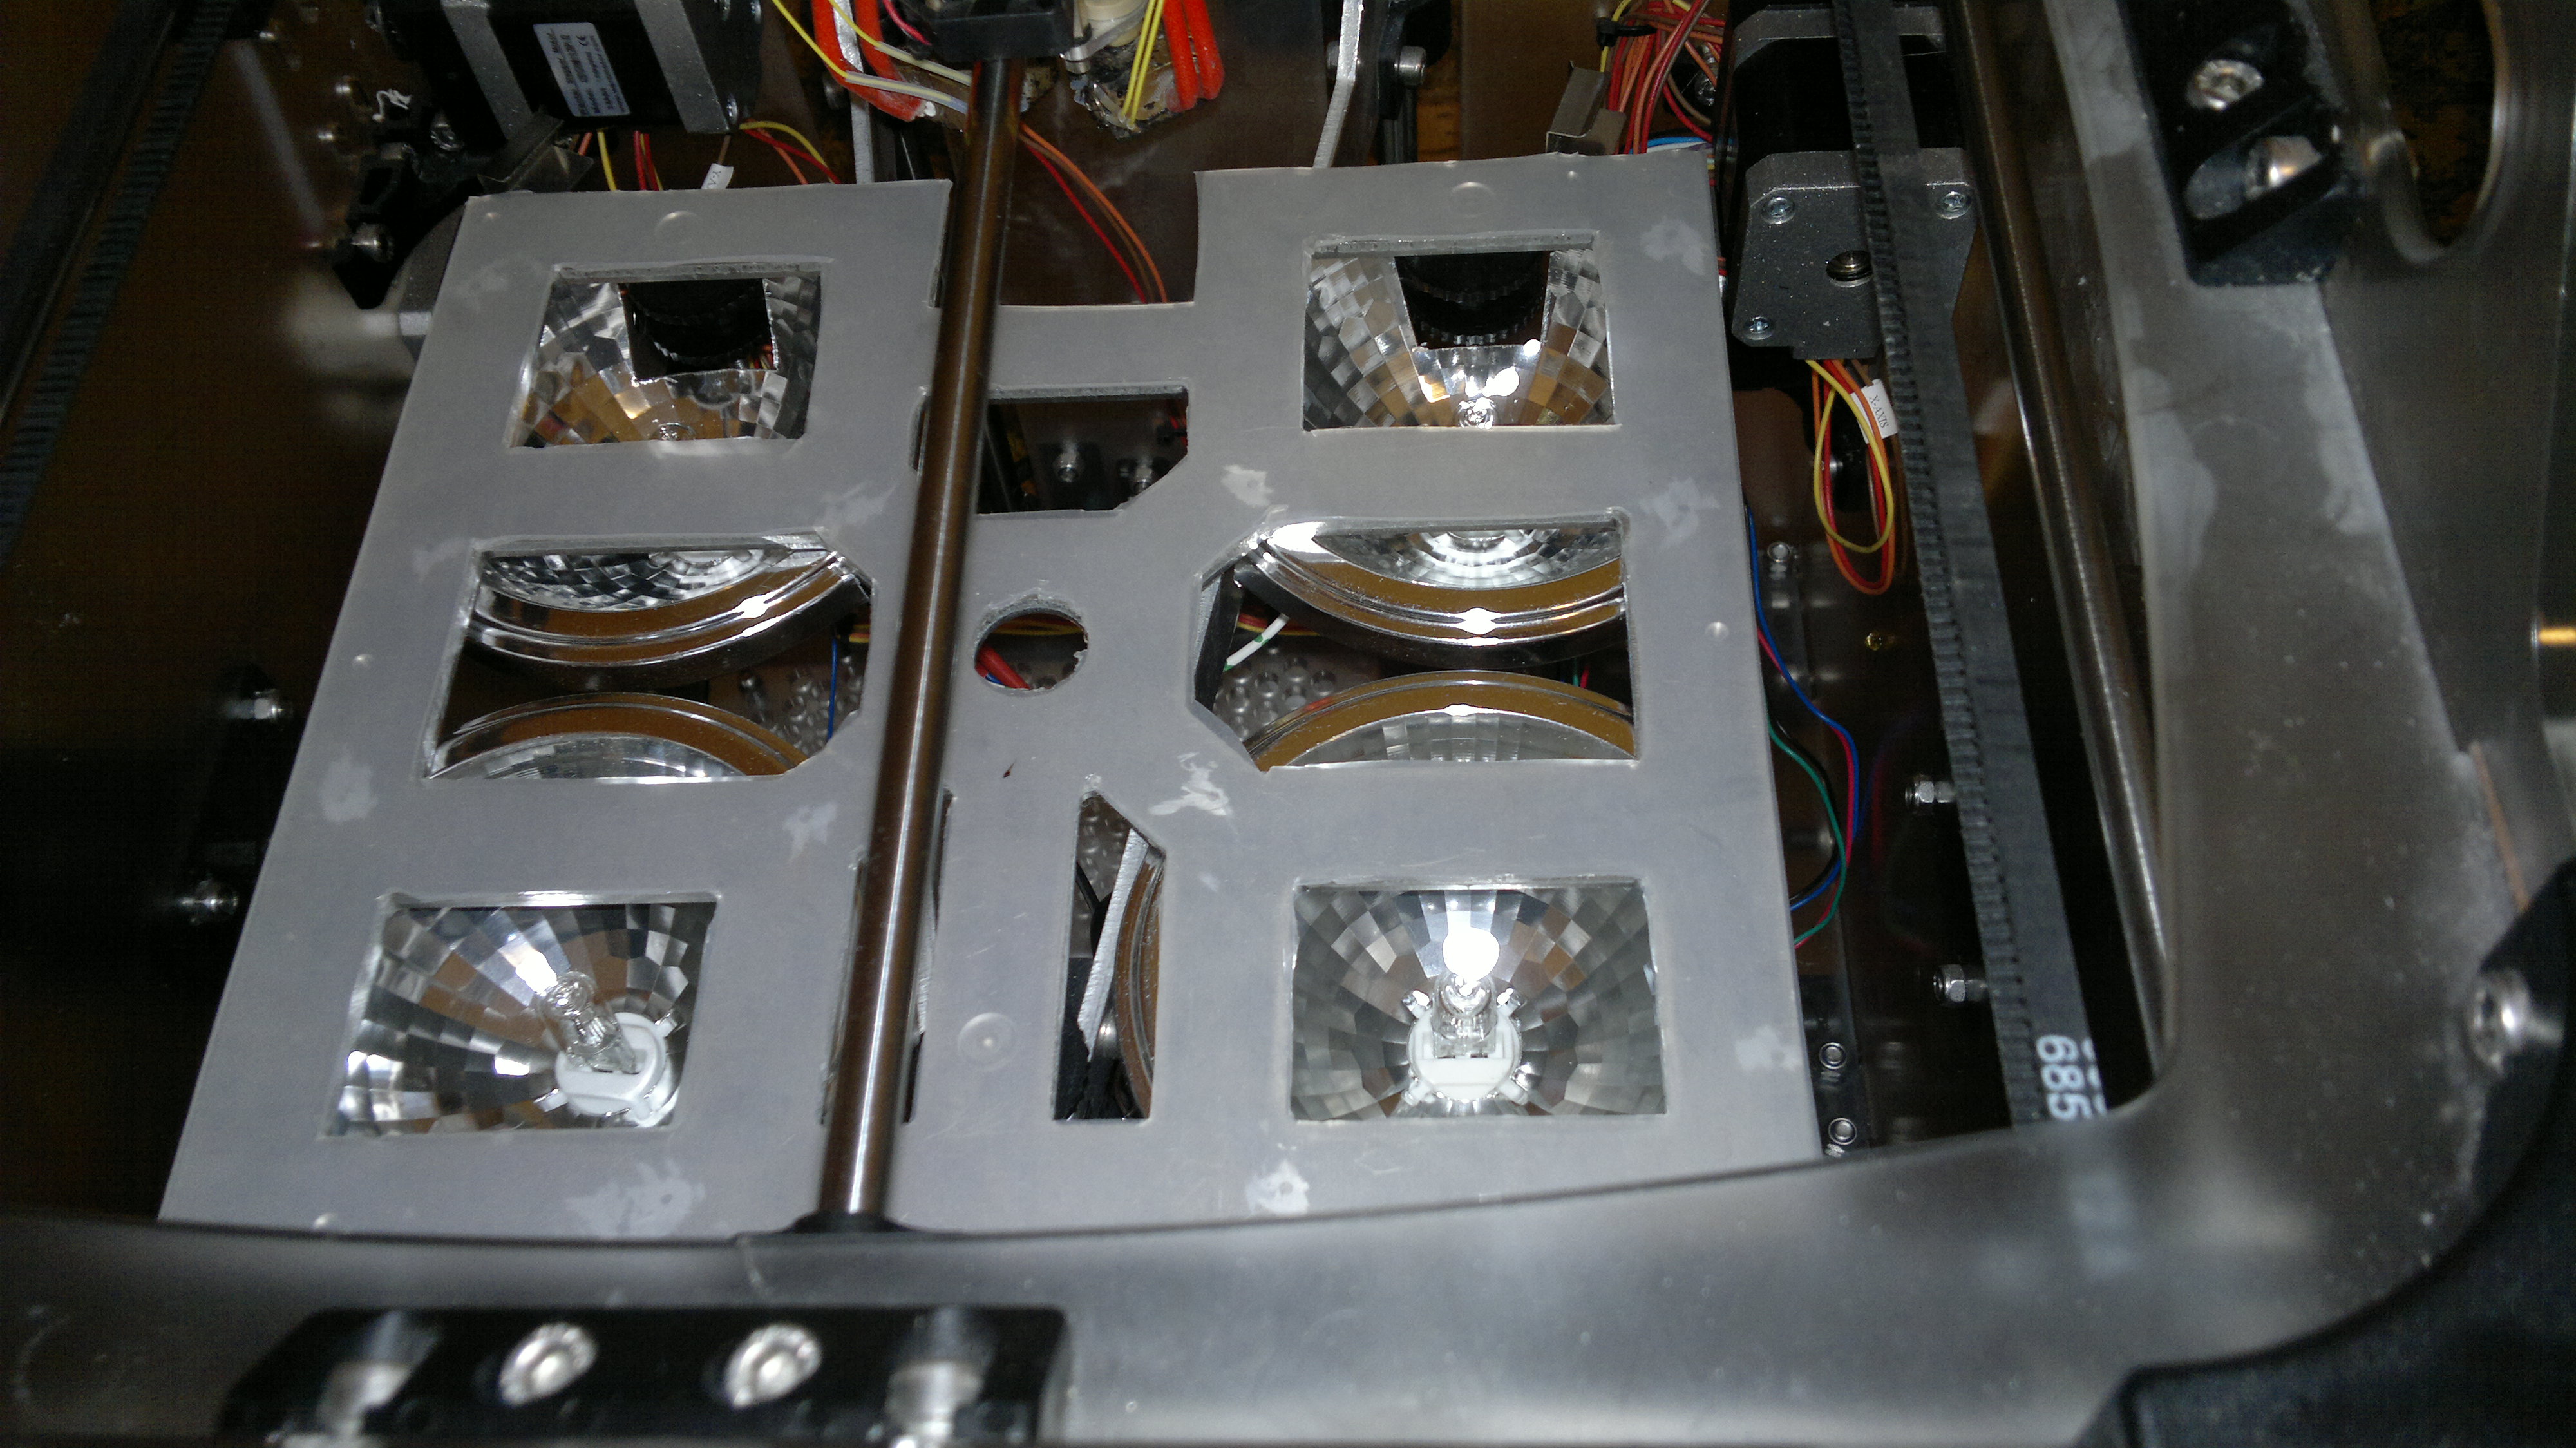
For the heating I selected four halogen spots, one in each corner. Two 35W spots each are linked in line, they are then directly connected to the mainboard. In this configuration I can achieve a power of approx 40W.

The selected spots are quite flat, so that I have no limitations for the Z-axis range.

As a thermal insulator towards the z-stage I have selected a silicon foil, which I have cut to fit the base plate of the z-stage.
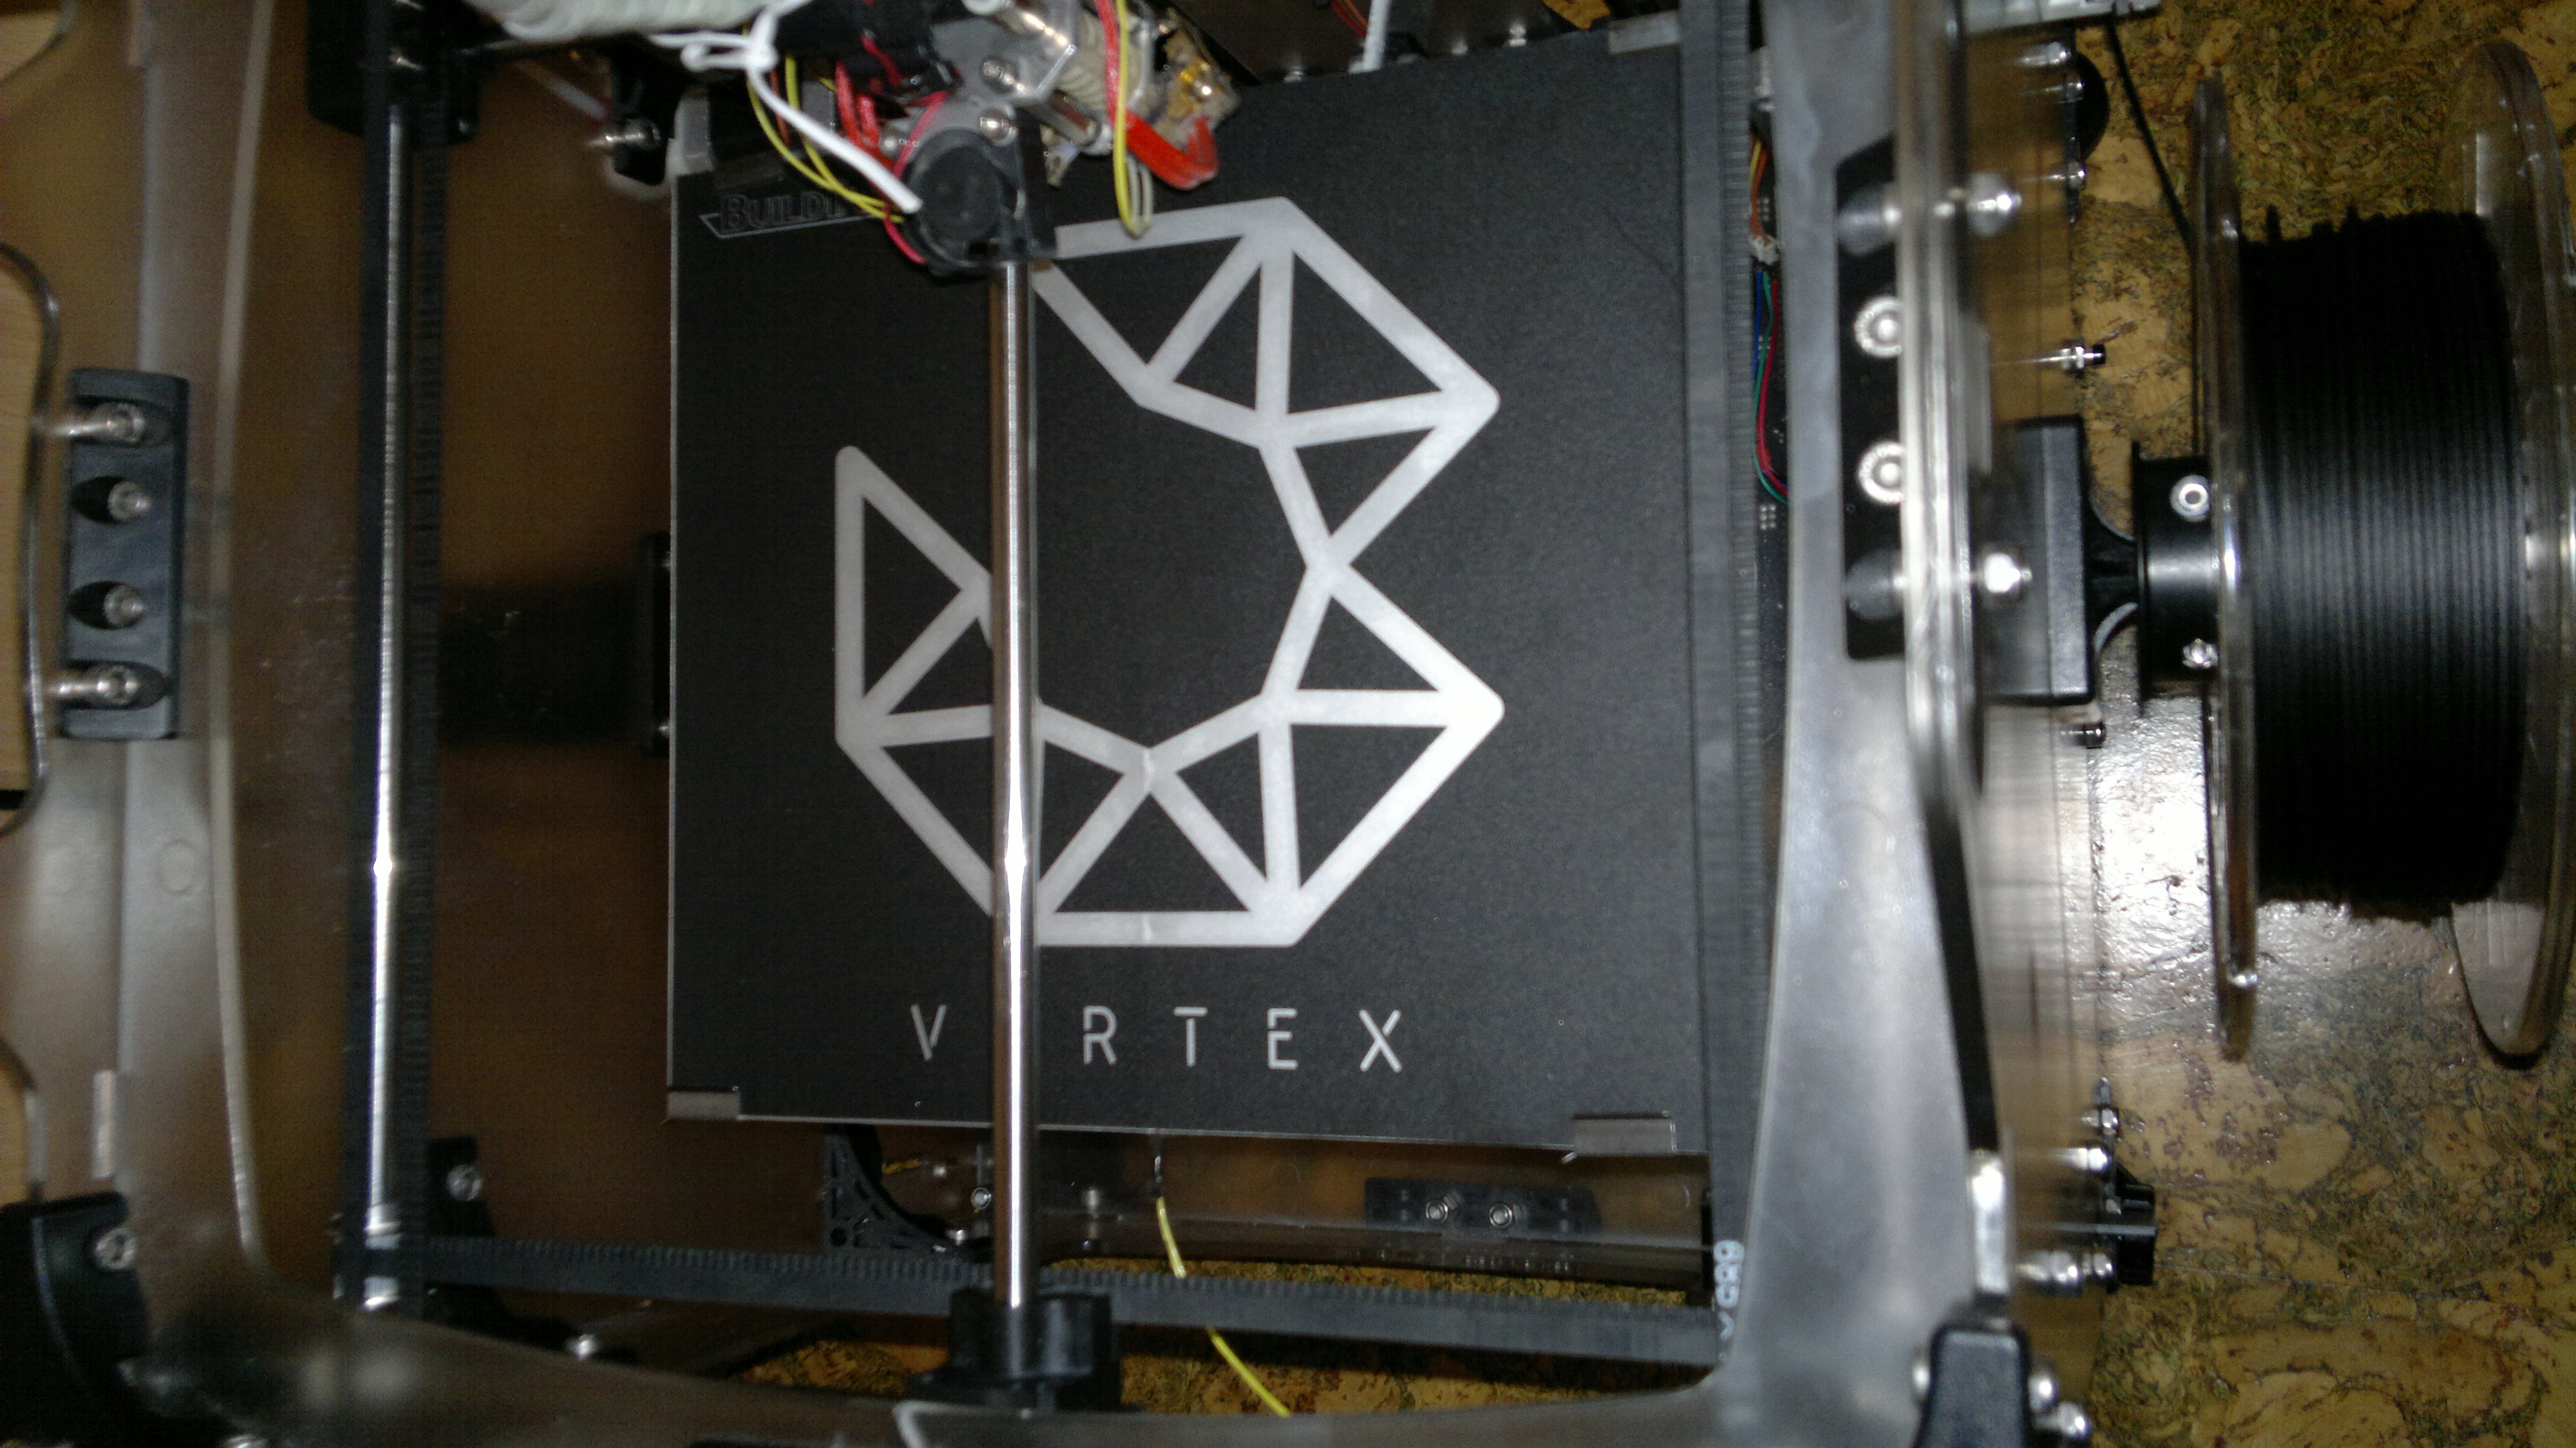
On top of this I put the metal plate sandwich with the thermal sensor and a brand new BuildTak foil. I selected the front side for the side with the cable link.
I checked the capability of this assembly in a dry test and could achieve a maximum temperature of 78°C. But this tooks a time since the thermal capacity of my stack seems to be very high. However, a large part pf the light power is coupled into the heat plate, there is no significant illumination of the housing.
This is the final configuration using four lamps and a separate power supply (schematic below). In this configuration I have printed the spool holders with carbon-fill material.